A bathroom shelf fails when its dimensions, fixing method, steel grade, or drainage do not match the wall and the products placed on it. You will be able to measure the space, assess installation risks, compare mounting systems, verify stainless-steel quality, and write a supplier specification that supports safe long-term use.
Key takeaways
- Measure clear wall width after accounting for fittings, brackets, and door swings.
- Use screws or anchors suited to the wall substrate and wet conditions.
- Choose stainless steel by grade, finish, weld quality, and corrosion resistance.
- Confirm load capacity after installation, not from shelf size alone.
Measure the Wall and Plan What the Shelf Must Hold
Measure the clear wall area, not the wall’s full width, before choosing an SS bathroom shelf size. Record the distance between corners, fittings, shower screens, and door swings, then subtract the space occupied by brackets, end returns, or raised rails shown on the supplier drawing. That result is your usable shelf width.
- Measure shelf depth from the wall to the front edge, including any lip. Keep enough clearance for elbows, taps, and shower movement; excessive depth invites knocks and blocks access.
- Count what the shelf must hold: daily bottles, soap bars, razors, or folded cloths. Measure the widest bottle and tallest container rather than estimating from product labels.
- Set bathroom shelf height clearance above the basin, toilet, or floor so stored items remain reachable without colliding with your head, hands, or fittings. Leave room above each bottle for removal.
- Mark the proposed position with masking tape for a day. Open the door, use the shower, and check whether spray, steam, and body movement expose a design problem.
Use the storage type to refine the dimensions:
| Storage need | Dimension to prioritise | Position check |
|---|---|---|
| Tall shampoo bottles | Shelf depth and vertical clearance | Confirm bottles lift out without striking the shelf above |
| Soap and small toiletries | Usable shelf width and drainage | Prevent narrow gaps or excessive slots from trapping or dropping items |
| Several containers | Usable shelf width and load distribution | Keep heavy bottles near supports, not at one unsupported end |
Match the Mounting Method to the Wall and Moisture
A shelf is safely supportable only when the fixing, wall substrate, and moisture exposure match; the wall and anchor usually set capacity before the stainless steel does. Identify the structure behind the finish, not just the visible tile, and never rely on a headline load rating without its test conditions.
- Solid masonry or concrete: use corrosion-resistant screws with masonry plugs or specified anchors. Check for hollow spots and avoid drilling into plumbing or electrical cables.
- Timber stud: fix into the stud with suitable screws, not plasterboard alone. Confirm the stud position before choosing shelf-hole spacing.
- Hollow plasterboard: use rated cavity anchors, or install into a reinforced backing board. A heavy shelf fixed only to the board can pull out.
- Tiled walls: inspect for cracks, keep holes away from weak tile edges, and avoid grout unless the fixing instructions explicitly allow it. Drill slowly with the correct tile bit.
| Mounting method | Best fit | Main limitation |
|---|---|---|
| Screw-fixed bathroom shelf | Masonry, concrete, or a stud | Drilling can damage tile and may encounter concealed services |
| Adhesive-mounted shelf | Smooth, clean, non-porous tile | Bond strength falls with dust, condensation, uneven surfaces, or heavy loads |
| Suction bathroom shelf | Flat, glossy, non-textured tile or glass | Air leakage causes sudden release; unsuitable for grout lines |
| Tension storage | Floor-to-ceiling, structurally sound surfaces | Slippage follows poor adjustment, uneven floors, or ceiling flex |
Keep every fixing dry during curing, follow the stated cure time, and test the empty shelf before adding wet bottles.
Verify the Stainless-Steel Grade and Surface
Ask for the material grade, not just the words “stainless steel.” A 304 stainless steel bathroom shelf is the baseline choice for a continuously damp bathroom; 316 stainless steel offers stronger resistance to chloride-driven pitting because it contains molybdenum. Concentrated bleach, salt deposits, and trapped water can damage both.
| Grade | What it means | Bathroom decision |
|---|---|---|
| 304 / 1.4301 | Austenitic, corrosion-resistant stainless steel | Suitable baseline for most bathrooms |
| 316 / 1.4401 | Austenitic stainless steel with molybdenum | Better for showers, coastal buildings, and frequent splash |
| 316L / 1.4404 | Lower-carbon version of 316 | Useful for welded assemblies; not automatically better than 316 in an unwelded shelf |
| 430 | Magnetic ferritic stainless steel with lower corrosion resistance | Better for dry interiors than shower areas |
Do not use a magnet as the only test: 430 is magnetic, while 304 and 316 are usually not, although forming can create slight magnetism. Inspect cut edges, corners, and welds for peeling, blistering, discoloration, rough grinding marks, or a coating that chips to reveal a different metal.
Those signs point to plating or poor finishing.
- Request a mill certificate or written grade declaration.
- Require stainless fixings of a compatible grade; zinc-plated or carbon-steel screws can rust and create stains around fasteners.
- Ask what “passivated” means. ASTM A380/A380M covers cleaning and passivation practice, while ASTM A967/A967M covers chemical passivation.
- Reject shelves with deep scratches or embedded rust particles, and prohibit chloride cleaners, hydrochloric acid, and bleach residue from remaining on the surface.
Check Construction, Drainage, and Real Load Capacity
A shelf that stays stable under heavy, wet use needs more than a thick-looking panel. Inspect every joint, edge, hollow section, and drainage path for places that can flex, trap water, or collect soap.
| Construction detail | What to inspect | Failure risk |
|---|---|---|
| Welded versus folded joints | Continuous, smooth welds with no undercut, pinholes, or sharp crevices; folded returns must sit tightly and drain | Weak welds crack, while open folds trap chloride-laden water |
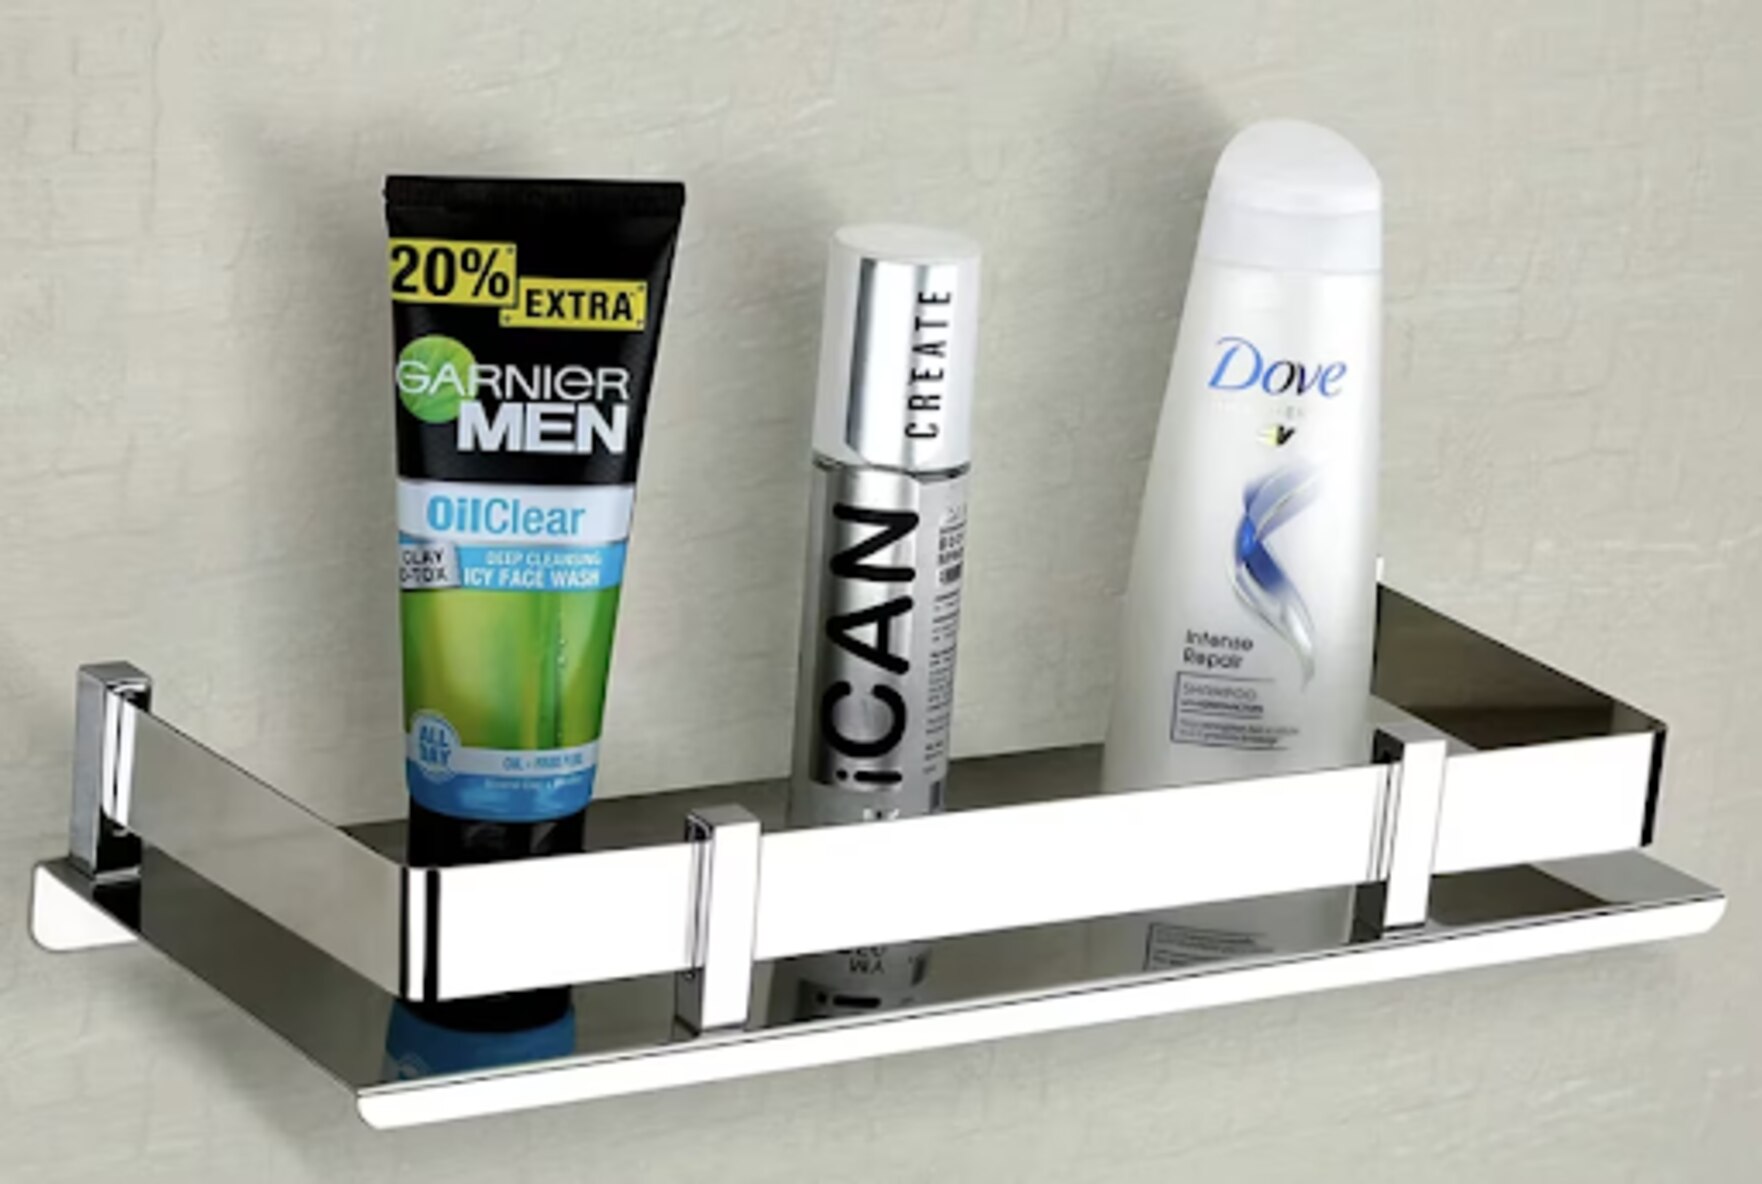
| Drainage design | Bathroom shelf drainage holes, slots, a controlled slope, or open edges that remove pooled water without letting small bottles fall through | Standing water accelerates staining and localized corrosion |
| Retaining edge | A raised retaining lip that keeps bottles from sliding while leaving enough clearance for wiping | A low lip allows items to fall; a narrow channel traps grime |
| Hollow sections | Ends sealed or deliberately drained, with no overlapping bracket pocket | Trapped water corrodes inside where you cannot clean it |
| Load test | Stated shelf span, load distribution, allowable deflection, test duration, wall substrate, and anchor arrangement | A nominal shelf load says little without test conditions |
Ask the supplier to test the shelf with the specified anchors and a distributed load equal to its shelf load capacity. Check the front edge separately: place weight near one corner and pull downward gently, because an eccentric load or user’s hand can twist a shelf that passes a central-load test.
Reject a shelf that bends permanently, loosens at its joints, or leaves water pooled after a normal rinse. Excessive perforation also creates soil traps, so drainage must improve drying without making cleaning harder.
Turn the Requirements into a Supplier and Care Specification
Do not accept “stainless steel” or “passivated” as complete answers. Send the supplier a written stainless-steel shelf specification and require these details before ordering:
1. State the grade, thickness, finish, dimensions, weld quality, and maximum load for each wall substrate: concrete, solid masonry, timber stud, and hollow plasterboard. Require compatible anchors, installation instructions, and stainless-steel fasteners; a headline load rating is meaningless if the anchor pulls out first.
2. Require sealed or drained hollow sections, closed tube ends, and smooth welds without undercuts. Folded returns, overlapping brackets, and trapped water create crevices that corrode before the exposed shelf surface.
3. If the supplier claims passivation, ask which cleaning and descaling practice followed ASTM A380 and which chemical treatment and acceptance test followed ASTM A967. The word “passivated” does not prove either treatment occurred.
4. Ask for finish test records when they matter, including ASTM B117 or ISO 9227 salt-spray results. Use those hours to compare processing and finishes, not to predict a fixed bathroom lifespan.
When requesting a quote from HV Enterprise or any supplier, provide the wall type, fixing location, expected load, and cleaning conditions rather than asking for a generic shelf.
After installation, rinse off salt residue and any chloride cleaner immediately, then dry the shelf and fixings. Prohibit hypochlorite bleach, hydrochloric-acid products, and abrasive powders; scratches and embedded iron particles become corrosion sites. Inspect screw heads, welds, tube ends, and standing-water pockets monthly, and replace rusty carbon-steel or zinc-plated fixings before staining spreads.
Frequently asked questions
How do you measure a wall for an SS bathroom shelf?
Measure the clear space between corners, fittings, shower screens, and door swings. Subtract the space taken by brackets, end returns, and raised rails shown on the supplier drawing.
Which mounting method suits a wet bathroom wall?
Match the fixings to the wall substrate and moisture exposure. Use corrosion-resistant screws and anchors rated for the actual surface, such as tile over masonry, concrete, or drywall.
What stainless-steel grade should you check for a bathroom shelf?
Ask the supplier to state the stainless-steel grade and surface finish. Grade 304 suits many indoor bathrooms, while grade 316 offers better resistance where chloride exposure is high, such as coastal locations.
How can you verify a shelf’s real load capacity?
Ask for the rated load, test conditions, bracket spacing, and fixing requirements. Compare that rating with the combined weight of bottles, toiletries, towels, and the force created when items are placed on the shelf.